Friday, March 11, 2016

TWO PAPER DIVAS BLOG HOP


I am experiencing my very first BLOG HOP thanks to my friends, Melissa and Gayla, owners of TWO PAPER DIVAS.  Never took the time to personally create a card for one in the past but have followed many over the years.   So come along with me and I will let you know how this card was created.  As I sat and contemplated what I was going to use of my stash of Stamps from Two Paper Divas, I realized I needed another Easter card for a wonderful High School Girlfriend, Betty, and then the stamps to be used became easy.  Through the 80's I stayed with this great friend a number of times and loved her collection of Bunnies and especially one that was sorta hiding under her beautiful piano.  So, now you know the rest of this story ...... seeing the Bunny peeking out from the inside of the card.

STAMPS:  Two Paper Divas -  "Some Bunny"; "It's All About The Egg"; "Wishing You A Happy Easter
PAPER:  Neenah Solar White 110 lb - Card Base;  Ranger Ink Gloss
INK:   Versafine Black Pigment;  Cracked Pistachio Distress Ink; Simon Says Stamp White Pigment
Die:  Lawn Fawn - Stitched Borders (2 pieces of the 4)
ACCESSORIES:  Hero Arts White Embossing Powder;  Pretty Pink Posh - Sparkling Clear Mix Sequin (smallest);  Prima - Snow Lace;  White Fun Foam;  Prismacolor Premium Colored Pencils

I took a standard size A2 card base and scored it at 4-1/4" and 1-1/2".  The 1-1/2" became the flap which I designed the focus around.  After I stamped the eggs (3 of the 6 in the set) in the white pigment ink and embossed with the white powder, I used the round blending tool with the Cracked Pistachio Distress Ink on the strip of Glossy Paper.  Just that touch of soft color was what I wanted. I added the two strips of lace with 1/8" score tape and raised the strip with the Fun Foam.  I love the Border Dies from Lawn Fawn which give the card a "stitched" look.  The rest of what I created on the card is easy to see.

Be sure to check out all the amazing projects by the Two Paper Divas Design Team members!

Carryn - that's me

To each of you visiting the Blog Hop - Enjoy!!!


Saturday, March 5, 2016

TWO PAPER DIVAS Design Team Card using a Sentiment stamp from the NEW March 2016 release!!


The other day I received this beautiful butterfly die from Memory Box which they created exclusively for Impress Cards and Crafts out of the Pacific Northwest.   I have been purchasing some of my card making products from Impress for many years.  Good reliable company with some creative ideas in their Project Ideas.   

The sentiment stamp set is one from the 2016 March release for TWO PAPER DIVAS which occurred today, 3/5, and it speaks to something we should ALL practice in our daily life.   I performed a little surgery on the stamp and separated some of the words!!

STAMPS:    Two Paper Divas  -  Sentiment stamp BE The Reason
PAPER:    MFT "Replenishments" - Whip Cream;  Copper Shine;  Copper Sparkle
DIE:   Memory Box - Fluttering Branch made exclusively for IMPRESS Cards + Crafts
INK:   Versamark
EMBOSSING POWDER:  Zing Metallic (Copper) 
GLUE FOR DIE:  Ranger Multi Medium Matte 

I made a Belly Band 1" x 9-5/8" out of the Copper Shine.  

ENJOY YOUR CARD MAKING!

P.S.  Looking at how the card looked in the second picture, I decided to go back to the card and added some 1/2" score tape to attach the folded back flap on the front.  For two reasons I made this change:  It looks better and the Belly Band is easier to get on and off!!  I did not take another picture!

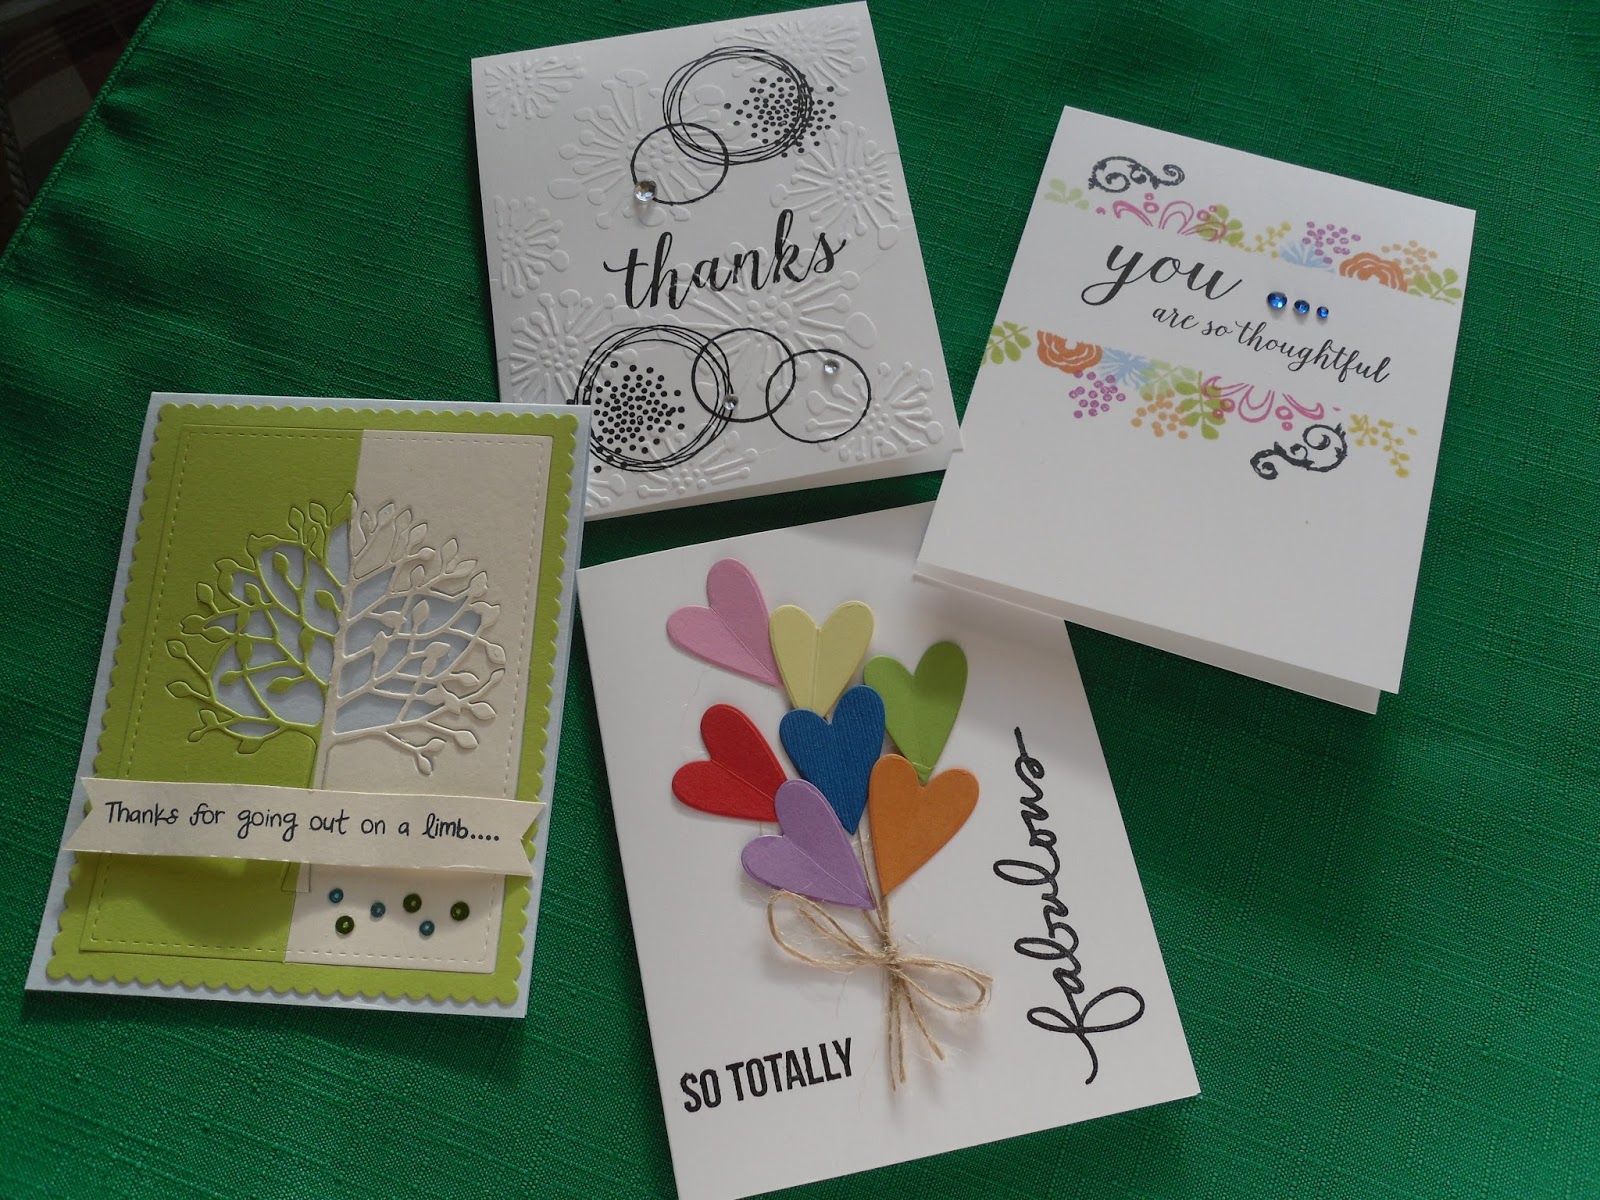
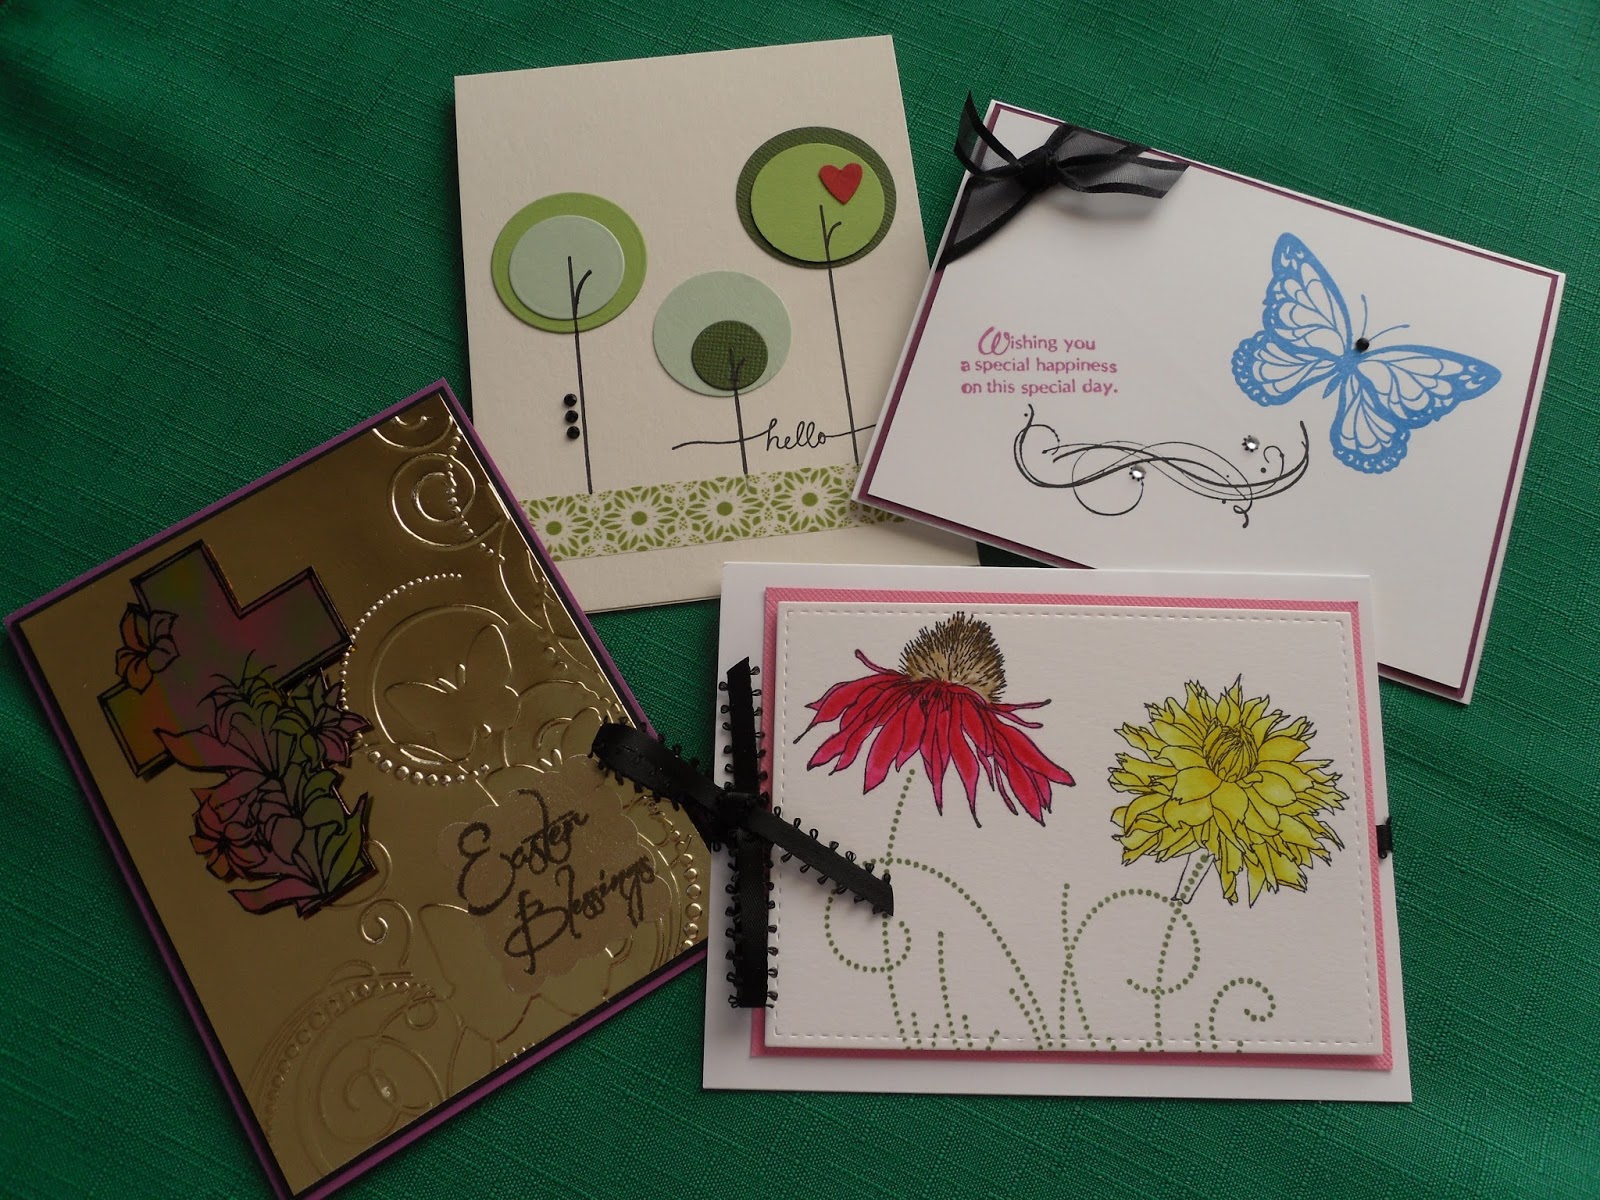
CARDS WHICH I TAUGHT RECENTLY - FEBRUARY 2016


In the first picture, I have to thank Debbie Hughes for the beautiful little blue flower card which she created and I did my take on it.  So sweet!!  Some cards are missing from these three groups because I used them before I took pictures ..... oop's!!

Thursday, February 25, 2016

TWO PAPER DIVAS Design Team Card - St. Patrick's Lucky Day


I have been away from my Crafting for a week now because Roger, my husband, threw us for a tizzy around here.  Off to the ER we went and then he was plopped into the hospital for a few days.  He was losing blood, inside, and they had to find it.  Lots of tests this week.  Nothing serious, thank goodness, but he will have to watch it if he gets too tired!!  Could be a sign again of the hemoglobin being low again.  I am just a little behind in card making!!

March is almost upon us and soon IT WILL BE MY BIRTHDAY and a few days later will be St. Patrick's day.  Time to bring out the Shamrocks and dance a jig!!!

My morning Tuesday Class does not like to necessarily "Fussy Cut" so I had the afternoon Class do this card a couple of weeks ago.

STAMPS:  Two Paper Divas - Lucky Me! Set

I used Woodgrain cardstock from Ellen Hutson which I love to have on hand for texture to my cards without the need to dry emboss all the time.  I then used my daubers in the various rainbow colors of distress inks.  For the "touches of GOLD" I used Sulky Sliver Metallic gold thread; Gold Uniball pen for the Buckle; and ImagineCrafts Gold Sheer shimmer Spritz for the added gold touch on the base card.

Hope that each of you find your POT OF GOLD!!!  Happy Card Making .......

Saturday, February 13, 2016

TWO PAPER DIVAS Design Team Card - Star Die Masculine Birthday


I love these two sentiments from TWO PAPER DIVAS.  They are not sold together but they each draw attention to themselves uniquely.

When I saw this Stars Die Set by My Favorite Things, I knew that I would find wonderful usages for them either attached as they are in the beginning  purchasing them as shown above or eventually I will clip them apart and use them individually.  Because on this card I used them from the negative. Just the "die".  There is a lot of design from the positive or loose stars which would be great collectively or individually in their different sizes.  So the white cards stock is just die cut and placed over the turquoise card stock.  Pretty plain!!!  So, I cut the stars one more time out of thin silver glitter paper and did an inlay onto the white.  Made the star pop.

STAMPS:  Two Paper Divas sets:  Everyday Sentiments (Enjoy);  Word Block Silhouettes (Birthday)

INK:  Versafine Black Pigment Ink - Good strong black ink especially for the more solid letters in the "Enjoy".

Happy Creative Stamping .......nice clean and simple card!!!

Thursday, February 11, 2016

CARDS I TAUGHT IN MY WEEKLY CARD CLASSES - JANUARY AND FEBRUARY 2016


The second to the last grouping only has three cards ..... I already sent the fourth card (?) off in the mail.  Now ALL the Valentine cards have been mailed to family.  The Classes enjoyed their cards and the techniques.  This weeks cards are not included here because I am having a make up class for three who could not do the cards on Tuesday.  Will post those cards on the weekend.

Sunday, February 7, 2016

TWO PAPER DIVAS Design Team Card - Birdie heading off on a Journey!!!


Will be back later to do my write up ..... IT IS BLUE AND ORANGE SUNDAY - SUPER BOWL!!!  GO BRONCOS!!!!!!!!

Well as most of you know, who care, THE BRONCOS WON THE SUPER BOWL!!!!

This card was created for my TWO PAPER DIVAS Design Team Card this week AND also Card Class for this week.  I will once again post it in the group of four cards once I teach the Make Up Class on Saturday.

SUPPLIES:

Stamps:  TPDivas Stamp Sets:  "Branching Out" and the sentiment is from "Simple Phrases"

Dies:  Large Stitched Rectangle Stackables

Ink:  Versafine Black Pigment & SU Soft Sky

ZIG Clean Color Real Brush:  Oatmeal, Mid Brown, Lemon Yellow, May Green, Yellow & Lt. Green
     
Silver Stickles

I chose to not pop up any of the stitched Dies.  I wanted a flat surface and creation of the Inlaid look. Using a torn piece of card stock, a large sponge dauber and the Soft Sky Ink, I create clouds.

Love this Birdie!!!

Enjoy creating!!!